Smartphone Authentication Registration: First Login and Logout Procedure
How to Use
First Login (Smartphone Authentication Registration)
- Version: 3.9.0
STEP1
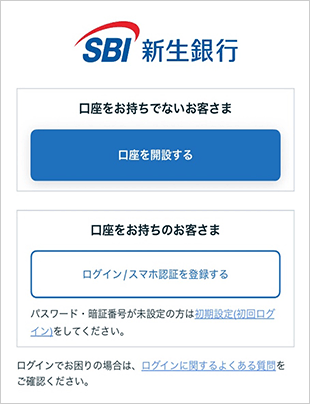
After downloading the app, launch it and tap “Log in with Account Number / Password(口座番号/パスワードでログインする)”.
If you have been using the SBI Shinsei Bank app with biometric authentication enabled on or before March 28, 2026, you can log in using your device’s biometric authentication.
For the subsequent steps, please refer to STEP 4.
- For the first login to the SBI Shinsei Bank app, you must register a password in advance via PowerDirect (Internet Banking). If you have not yet registered a password, please visit the “First Login” page, complete the password registration, and then proceed with the initial login to the SBI Shinsei Bank app.
- If you change your device or reinstall the app, you will also need to complete the procedure starting from the initial login process. Once the initial login is completed, you will no longer be able to log in using the previously used app.
-
If you cannot see the STEP 4 screen
If the login screen shown on the left appears, the SBI Shinsei Bank app you are using may not be the latest version.
Please install the latest version of the app from the app store.
Until a mandatory update is enforced by the app store, you can continue to use the app as usual with the current version.
STEP2
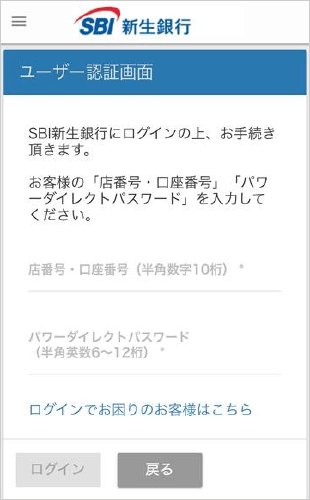
Enter Branch Number / Account Number and PowerDirect Password(店番号・口座番号、パワーダイレクトパスワード), and log in.
STEP3
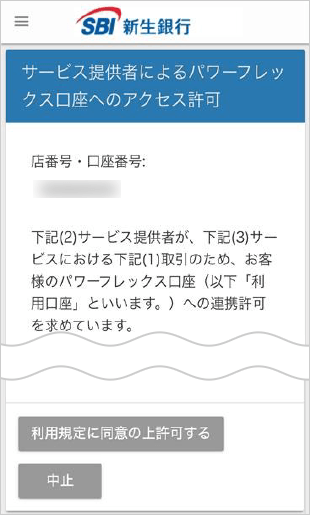
Tap “Agree to the Terms of Use and Allow Access(利用規定に同意の上、許可する)” to allow access to the PowerFlex Account.
STEP4
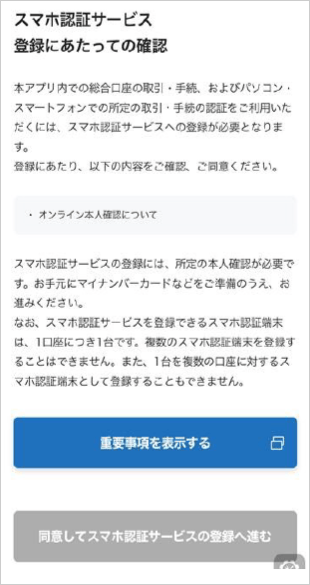
Tap “View Important Information(重要事項を表示する)” and review the information required for registering the Smartphone Authentication Service.
After reviewing, tap “Agree and Proceed to Smartphone Authentication Service Registration(同意してスマホ認証サービスの登録へ進む)”.
The Terms of Use will be displayed in your device’s web browser, not within the SBI Shinsei Bank app.
After reviewing them, you will not be returned to the app automatically. Please close the browser and return to the app.
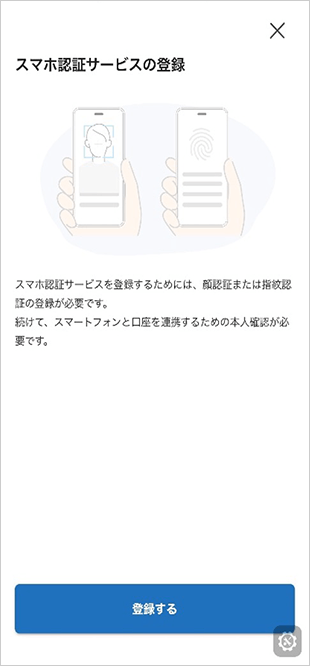
Tap “Register(登録する)” to register the Smartphone Authentication Service.
STEP5
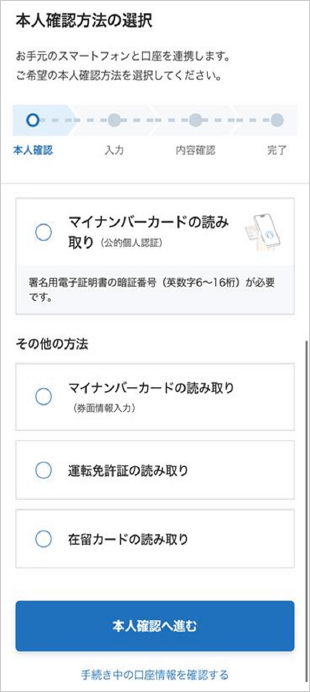
From the list of identity verification methods, select your preferred method and tap “Proceed to Identity Verification(本人確認へ進む).”
Follow the on-screen instructions to complete the identity verification process.
- Available verification methods may vary by customer.
STEP6
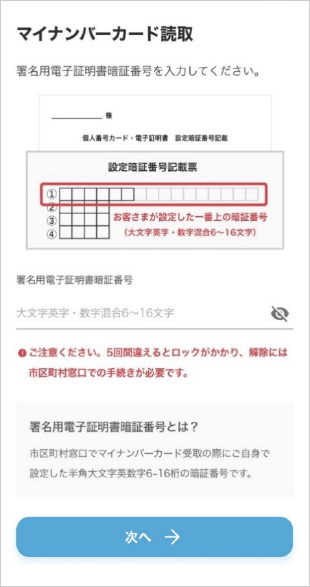
Please have your My Number Card ready, enter your Electronic Signature Certificate PIN, and tap “Next(次へ).”
- The Electronic Signature Certificate PIN is the 6–16 character alphanumeric PIN (uppercase letters and numbers only) that you personally set when receiving your My Number Card at your local municipal office.
- If you do not know your Electronic Signature Certificate PIN, tap the “×” button in the upper-right corner and select My Number Card Reading (Manual Entry of Card Information).
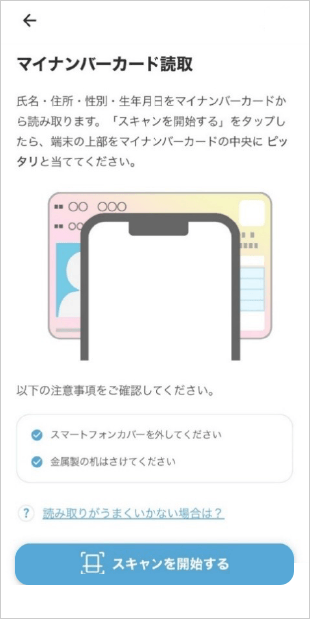
Tap “Start Scan (スキャンを開始する)” and scan your My Number Card using your smartphone.
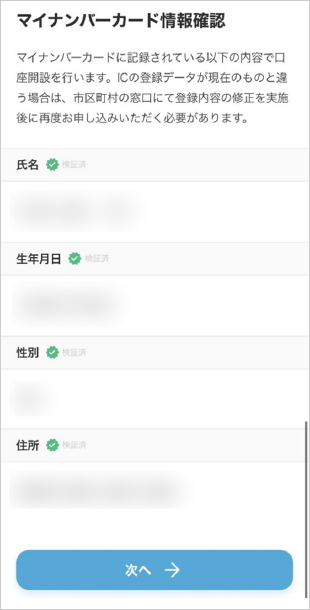
Once the My Number Card scan is complete, your personal information stored on the card will be displayed.
Please review the information and tap “Next(次へ).”
STEP7
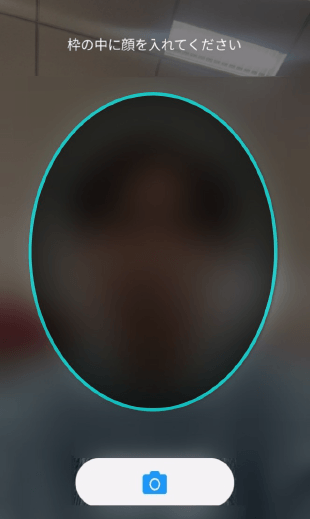
To register Face Authentication (AuthFace), your smartphone’s browser will open.
Please follow the on-screen instructions to take a photo of your face. Position your face within the frame and tap the camera button.
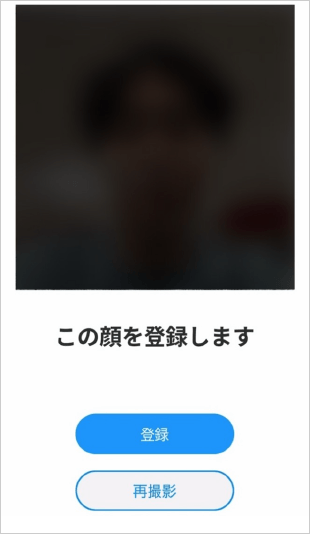
Review the captured face photo. If everything looks accurate, tap “Register(登録)
STEP6
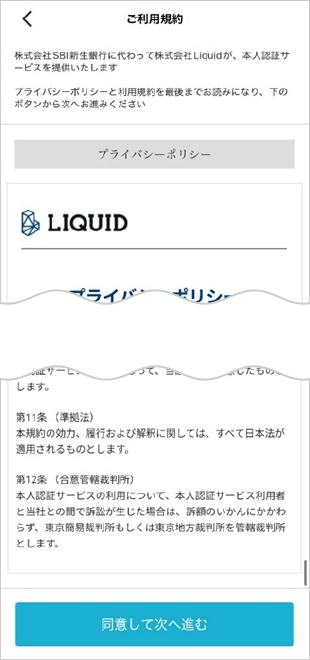
Please review Liquid Inc.’s Privacy Policy, then tap “Agree and Proceed(同意して次へ進む)”.
- After you enter your date of birth, expiration date, and security code, the printed information on the card will be locked if the information does not match or if the IC chip cannot be read 10 times in a row. If this verification is locked, please visit your local municipal office to request an unlock.
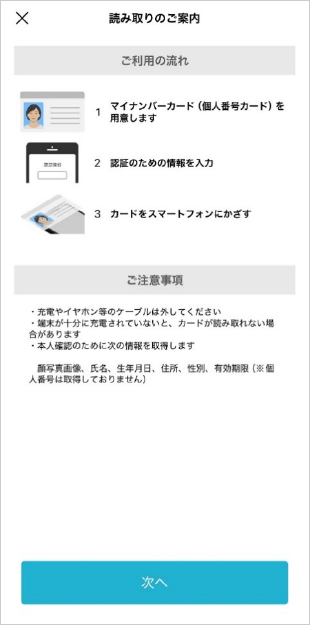
With your My Number Card at hand, review the procedure and important notes, then tap “Next(次へ)”.
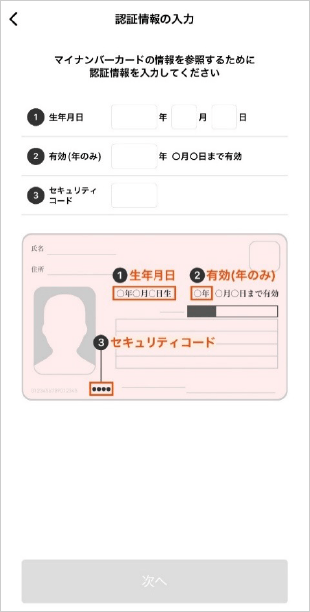
Enter the date of birth, expiration year, and security code shown on your My Number Card, then tap “Next(次へ)”.

Follow the on-screen instructions to scan your My Number Card using your smartphone.
STEP7

To register AuthFace, permission to access the camera is required for the SBI Shinsei Bank app.
Tap “Allow(許可する)”.
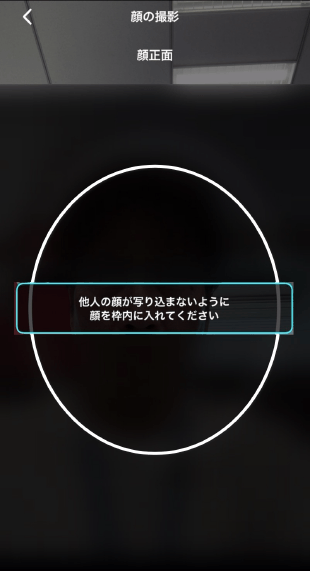
Follow the on-screen instructions to take a facial photo.
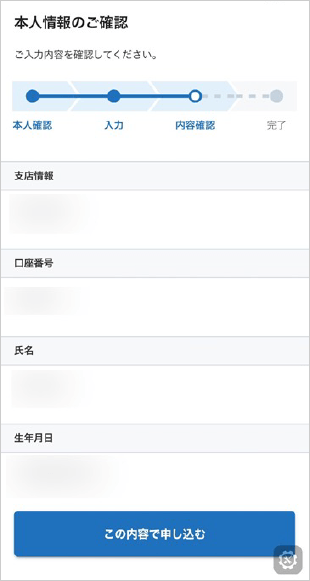
Review the personal information. If everything is correct, tap “Apply with This Information(この内容で申し込む)”.
STEP6

Please review Liquid Inc.’s Privacy Policy, then tap “Agree and Proceed(同意して次へ進む)”.
- If there have been any changes to the name or address listed on your driver’s license, this method cannot be used.
Please select another online identity verification method.
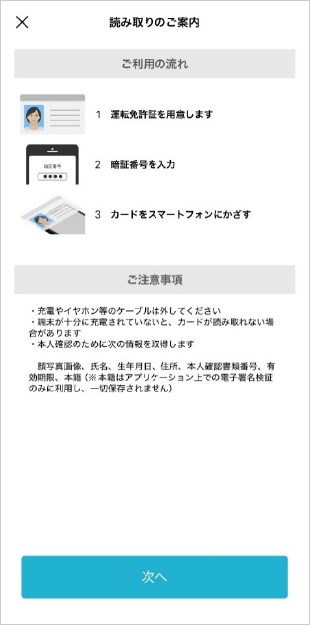
Please have your driver’s license ready, review the procedure and important notes, then tap “Next(次へ)”.
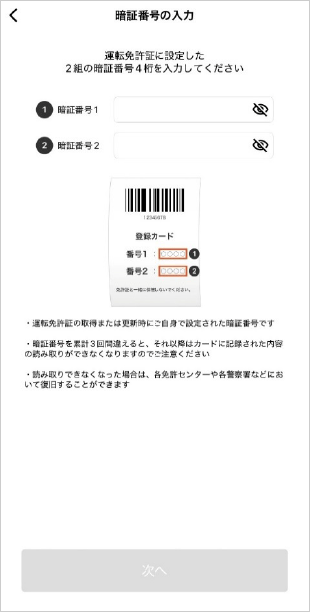
Enter both 4‑digit PIN codes set on your driver’s license, then tap “Next(次へ)”.
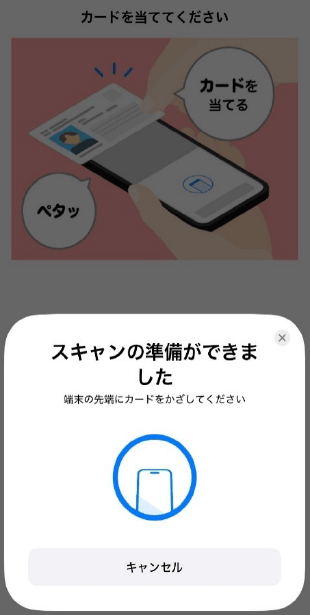
Follow the on-screen instructions to scan your driver’s license using your smartphone.
STEP7

To register AuthFace, permission to access the camera is required for the SBI Shinsei Bank app.
Tap “Allow(許可する)”.

Follow the on-screen instructions to take a facial photo.

Review the personal information. If everything is correct, tap “Apply with This Information(この内容で申し込む)”.
STEP6
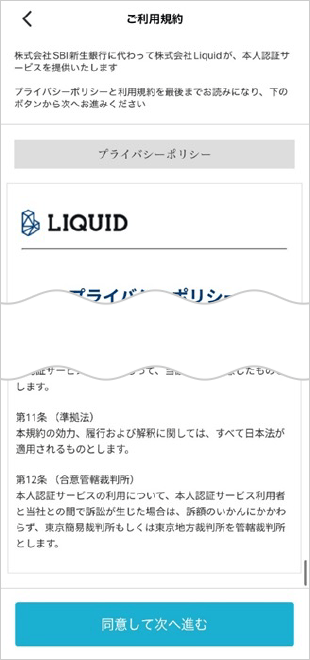
Please review Liquid Inc.’s Privacy Policy, then tap “Agree and Proceed(同意して次へ進む)”.
The Second-Generation Residence Cards and Specified Residence Cards (i.e., residence cards issued on or after June 14, 2026) will not be accepted.
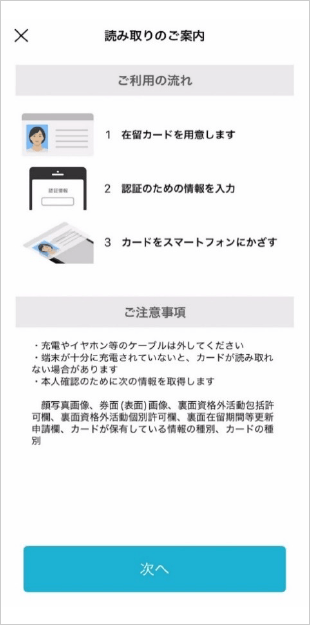
Please have your Residence Card ready, review the procedure and important notes, then tap “Next(次へ)”.
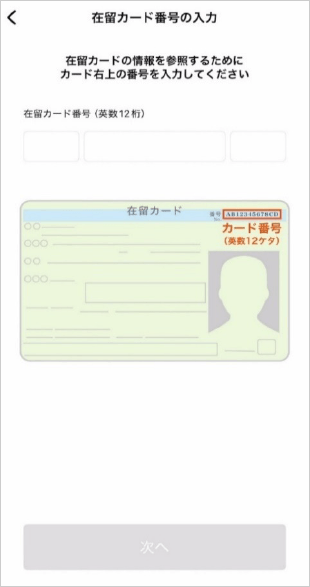
Enter the Residence Card number shown in the upper-right corner of your Card, then tap “Next(次へ)”.
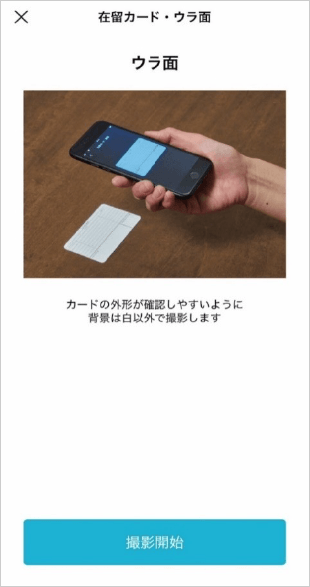
A photo of the back of your Residence Card is required.
Tap “Start Capture(撮影開始)

Camera access is required for the SBI Shinsei Bank app.
Tap “Allow(許可する)”.
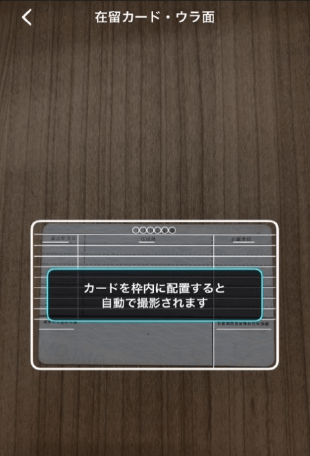
Follow the on-screen instructions and position your Residence Card within the frame. The photo will be taken automatically.

After confirming the branch information and account number, tap “Apply with This Information(この内容で申し込む)”.
STEP7

To register AuthFace, camera access is required for the SBI Shinsei Bank app.
Tap “Allow(許可する)”.

Follow the on-screen instructions to take a face photo.
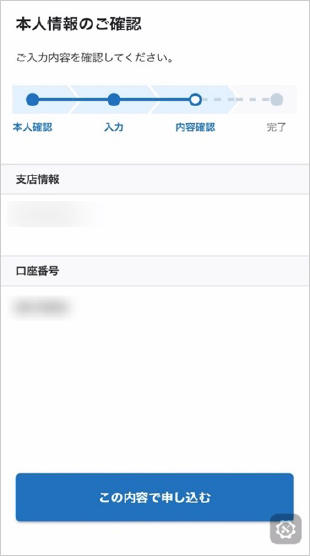
Review the personal information. If the information is accurate, tap “Apply with This Information(この内容で申し込む)”.
STEP8
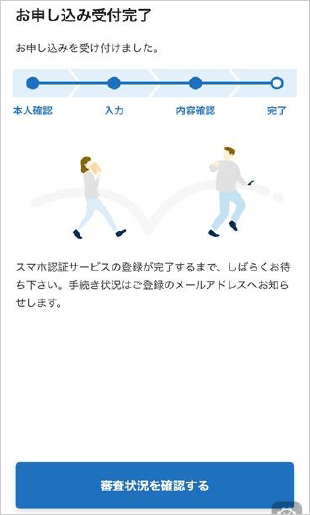
Your identity verification request has been successfully submitted.
Tap “Check Review Status(審査状況を確認する)” to view the current status.
Identity verification may take up to one business day to complete.
Once the verification is completed, we will notify you by email at your registered email address.
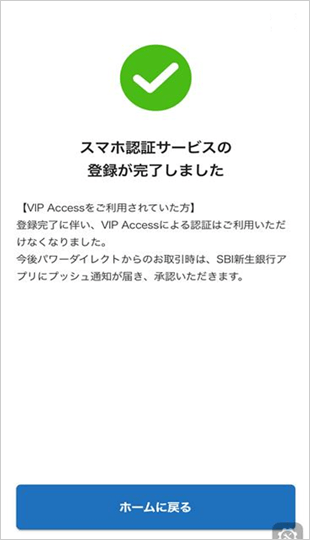
Once the Smartphone Authentication Service registration is complete, this screen will be displayed.
Tap “Return to Home(ホームに戻る)” to go back to the SBI Shinsei Bank app home screen.
STEP9

When you log in to the SBI Shinsei Bank app, a dialog requesting permission for notifications will appear. By selecting “Allow(許可),” you will be able to receive push notifications.
Push notifications are used for transaction approvals in PowerDirect (Internet banking), so we recommend selecting “Allow(許可).”
If you wish to change this setting later, please do so from your smartphone’s settings app.
Log In After the First Time
STEP1
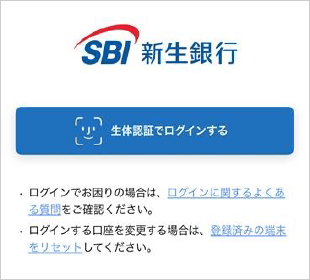
Logging in to the SBI Shinsei Bank app uses biometric authentication. Tap “Log in with Biometric Authentication(生体認証でログインする).”
If you wish to change the account used for login, tap “Reset Registered Device(登録済みの端末をリセット).”
- This app allows registration of one account per device only.
If you wish to log in to a different account on the same device, identity verification—similar to the initial login process—will be required.
Log Out
STEP1
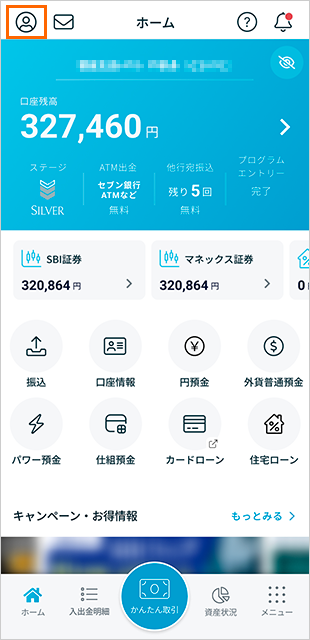
Tap the icon in the upper-left corner of the app home screen.
STEP2
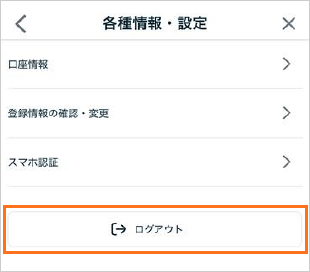
Tap “Log Out(ログアウト)” to complete the logout process.
How to Cancel Smartphone Authentication Registration
If you need to cancel Smartphone Authentication, please check here.